Ever stare at a ding or a hole in your drywall and wonder if it's a weekend project or a full-blown emergency? I see it all the time. Folks in Taylorsville, especially in those older homes near the Redwood Road corridor, often deal with little dings from moving furniture or bigger holes from, well, who knows what. The good news is, a lot of drywall repair is totally doable for the average homeowner. But there are definitely times you should put down the spackle and pick up the phone.
Before You Start: Assess the Damage
First things first, take a good look at what you're dealing with. This isn't just about the size of the hole, but also what caused it and where it is.
- Small Dings & Nail Pops: These are your easiest fixes. We're talking minor dents, screw or nail heads pushing through the paint, or small cracks. You can absolutely handle these yourself.
- Medium Holes (up to 6 inches): Think a doorknob went through the wall or you pulled off a stubborn picture hook. These require a bit more skill and materials, but they're still well within most DIYers' capabilities. You'll need a patch kit, or some scrap drywall, joint compound, and tape.
- Large Holes (over 6 inches) & Water Damage: Now we're getting into pro territory. If you've got a big section of wall missing, or worse, water damage that's softened the drywall, you're looking at a more complex repair. Water damage, especially, can hide mold or structural issues that need a trained eye.
- Cracks from Settling: Utah's ground can be pretty active, and houses settle. Small hairline cracks are often just cosmetic. Bigger, jagged cracks, especially around doorframes or windows, might indicate a structural issue. If you're seeing those, get a general contractor to check it out first, not just a drywall guy.
Your DIY Toolkit for Minor Repairs
For those small to medium jobs, here's what you'll want to have on hand:
- Joint Compound (Mud): Get a small tub of pre-mixed lightweight compound. It's easier to work with than the powdered stuff for small jobs.
- Drywall Tape: Fiberglass mesh tape is easiest for beginners. Paper tape works too, but it's a bit trickier to embed smoothly.
- Putty Knives/Trowels: You'll want a couple of sizes – a 2-inch for filling small holes and a 6-inch or 8-inch for feathering out the compound.
- Sanding Sponge or Fine-Grit Sandpaper: For smoothing everything out.
- Utility Knife: Handy for trimming tape or cutting small patches.
- Drop Cloths & Dust Mask: Drywall dust gets everywhere, and you don't want to breathe it in.
- Primer & Paint: To finish the job.
The Nitty-Gritty: How to Patch a Hole (The DIY Way)
Let's say you've got a hole about the size of a baseball. Here's the basic rundown:
- Clean It Up: Trim any loose paper or jagged edges around the hole with your utility knife. You want a clean, stable edge.
- Apply the Patch: For holes up to about 4-6 inches, a self-adhesive mesh patch works great. Just peel and stick it over the hole, making sure it covers the entire opening and extends a bit beyond. For bigger holes, you'll need to cut a piece of scrap drywall to fit, then use a 'California patch' method or add wood backing strips. This is where it gets a little more involved, but still doable.
- First Coat of Mud: Using your putty knife, apply a thin, even layer of joint compound over the patch and slightly beyond its edges. You're trying to fill the hole and embed the mesh tape. Let it dry completely. This can take a few hours, or even overnight, especially with our dry Taylorsville air.
- Second Coat: Once dry, lightly sand any high spots. Then, apply a second, slightly wider coat of mud. Feather the edges out really thin so it blends seamlessly with the existing wall. Let it dry.
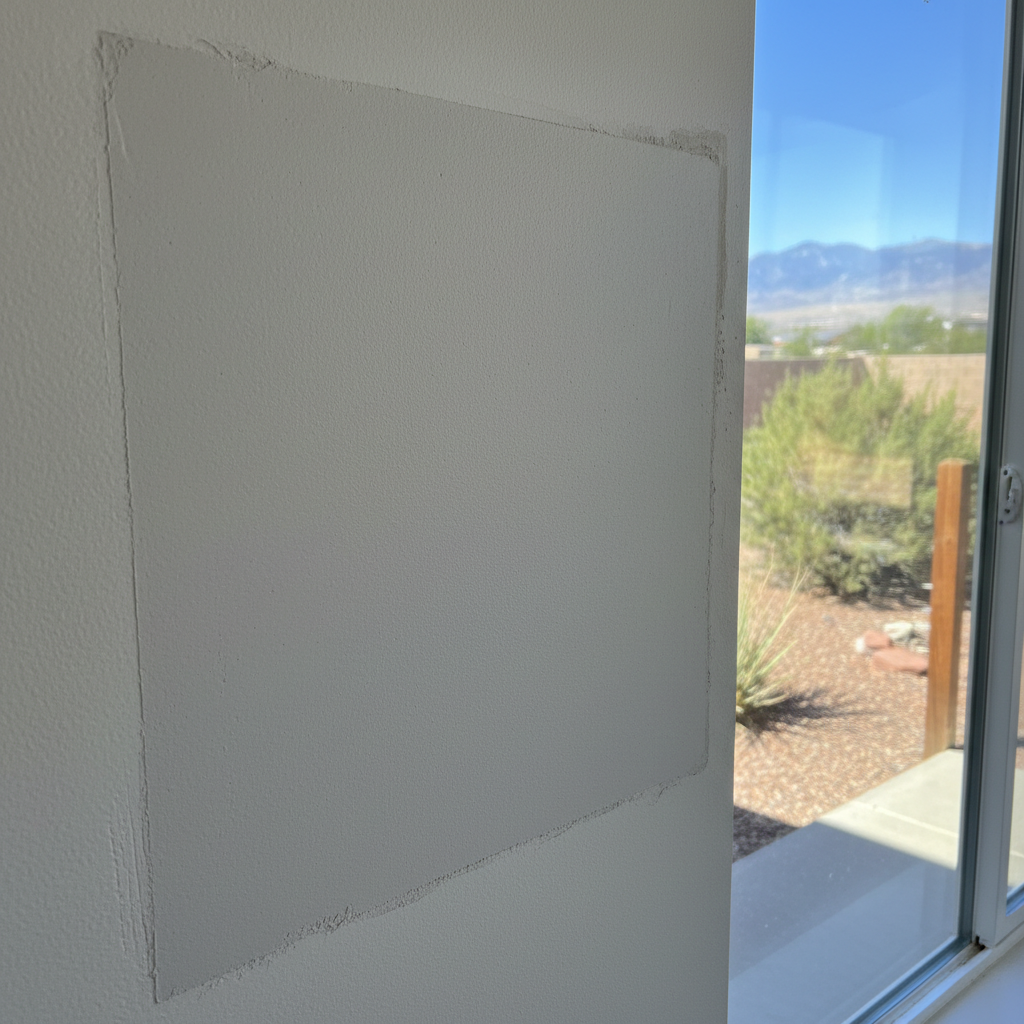
- Third (and maybe Fourth) Coat: Repeat the sanding and mudding process, making each coat a bit wider than the last. The goal is to create a smooth transition from the patch to the wall. Patience is key here. Don't try to get it perfect in one go.
- Sand & Prime: Once your final coat is completely dry, sand it smooth. Use a light touch! You want it flat and flush. Wipe off all the dust, then prime the patched area. This helps the new paint match the old and prevents flashing.
- Paint: Now you're ready for paint. You might need a couple of coats to get it to blend perfectly.
When to Call a Pro (Like Sunrise Drywall Co.)
Look, I'm all for saving a buck and doing things yourself. But sometimes, it's just not worth the headache, or the job is simply too big or too tricky. Here's when you should definitely give us a call at Sunrise Drywall Co.:
- Large Areas: If you're dealing with a whole section of wall that needs replacement, or multiple large holes.
- Ceiling Repairs: These are a different beast. Gravity isn't your friend, and getting a smooth, invisible ceiling patch takes a lot of practice. Plus, you often have to deal with textured ceilings, which is a whole other skill.
- Water Damage: As I mentioned, water damage can be extensive and needs proper assessment and repair to prevent mold or further issues. We'll make sure the underlying problem is addressed and the drywall is replaced correctly.
- Cracks Indicating Structural Issues: If you suspect a foundation problem, get a structural engineer first, then we can fix the drywall once the underlying issue is stable.
- Textured Walls: Blending a patch into a textured wall (like orange peel or knockdown, common in many Utah homes) is an art form. It's incredibly difficult to get a seamless match without specialized tools and experience.
- You Just Don't Have Time or Patience: Drywall repair, especially finishing, requires patience. If you're short on time or just want it done right the first time without the learning curve, that's what we're here for.
Don't be afraid to tackle those small dings. It's a great way to learn and keep your home looking good. But for the bigger stuff, or if you just want peace of mind, give us a shout. We've been helping folks in Taylorsville and the surrounding areas keep their walls looking sharp for years.